Logging Manager Guide
This guide introduces users to the logging feature in ScriptManager, which stores a record of a user's ScriptManager activity for a given graphical interface session.
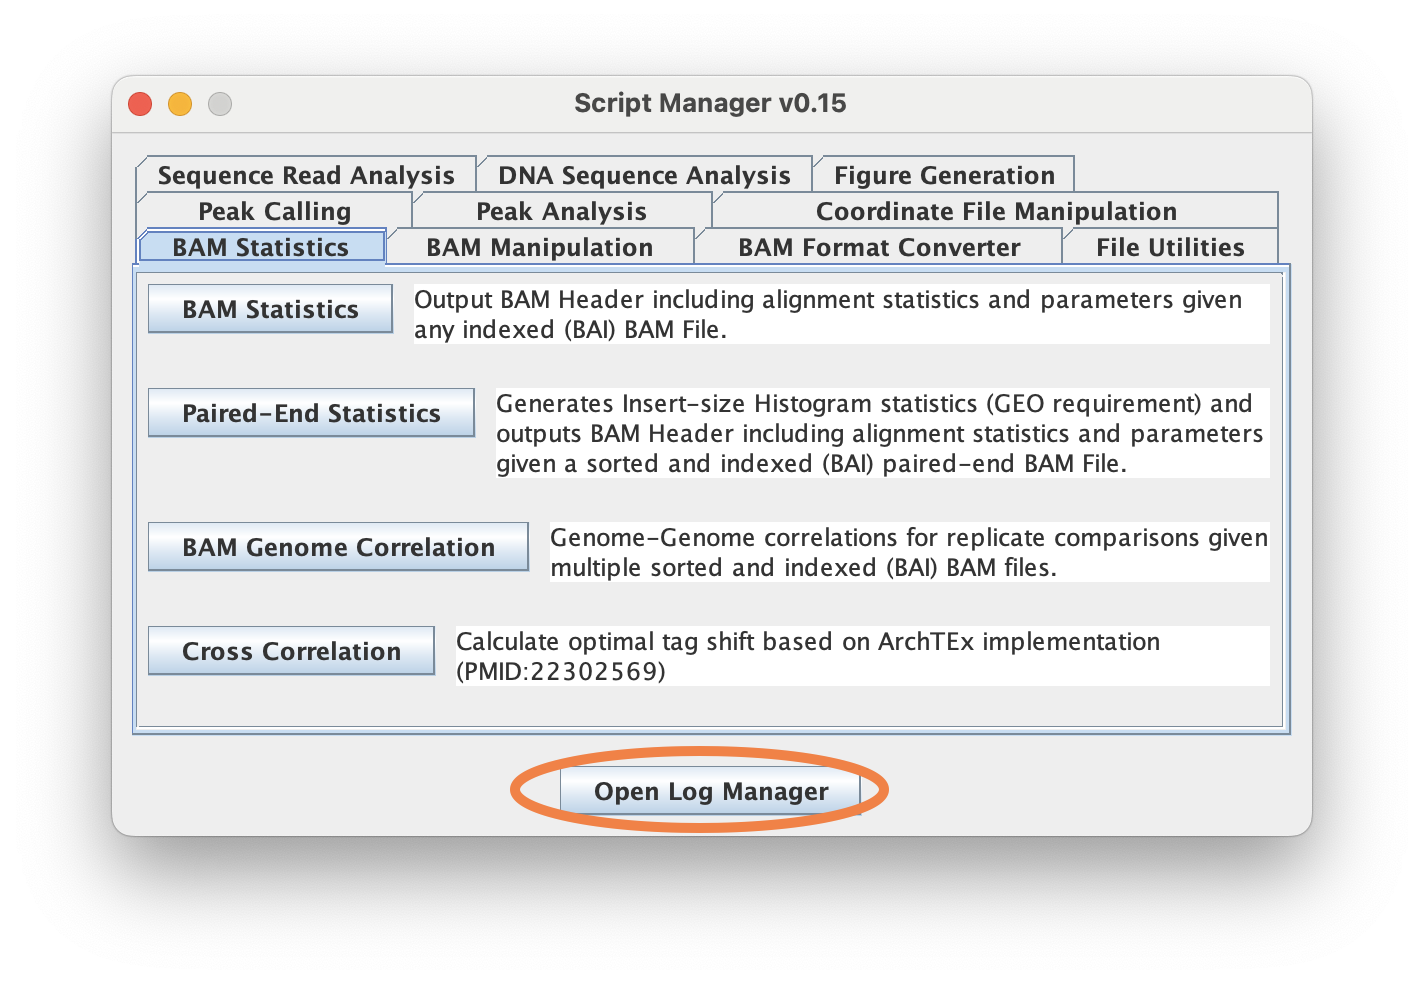
Users can access the log by clicking "Open Log Manager" which will open up a new window with two "Log Settings" and "View Log" tabs.
Log Settings
The Log Settings is where the the user can turn logging on/off and configure how they want to save the log.
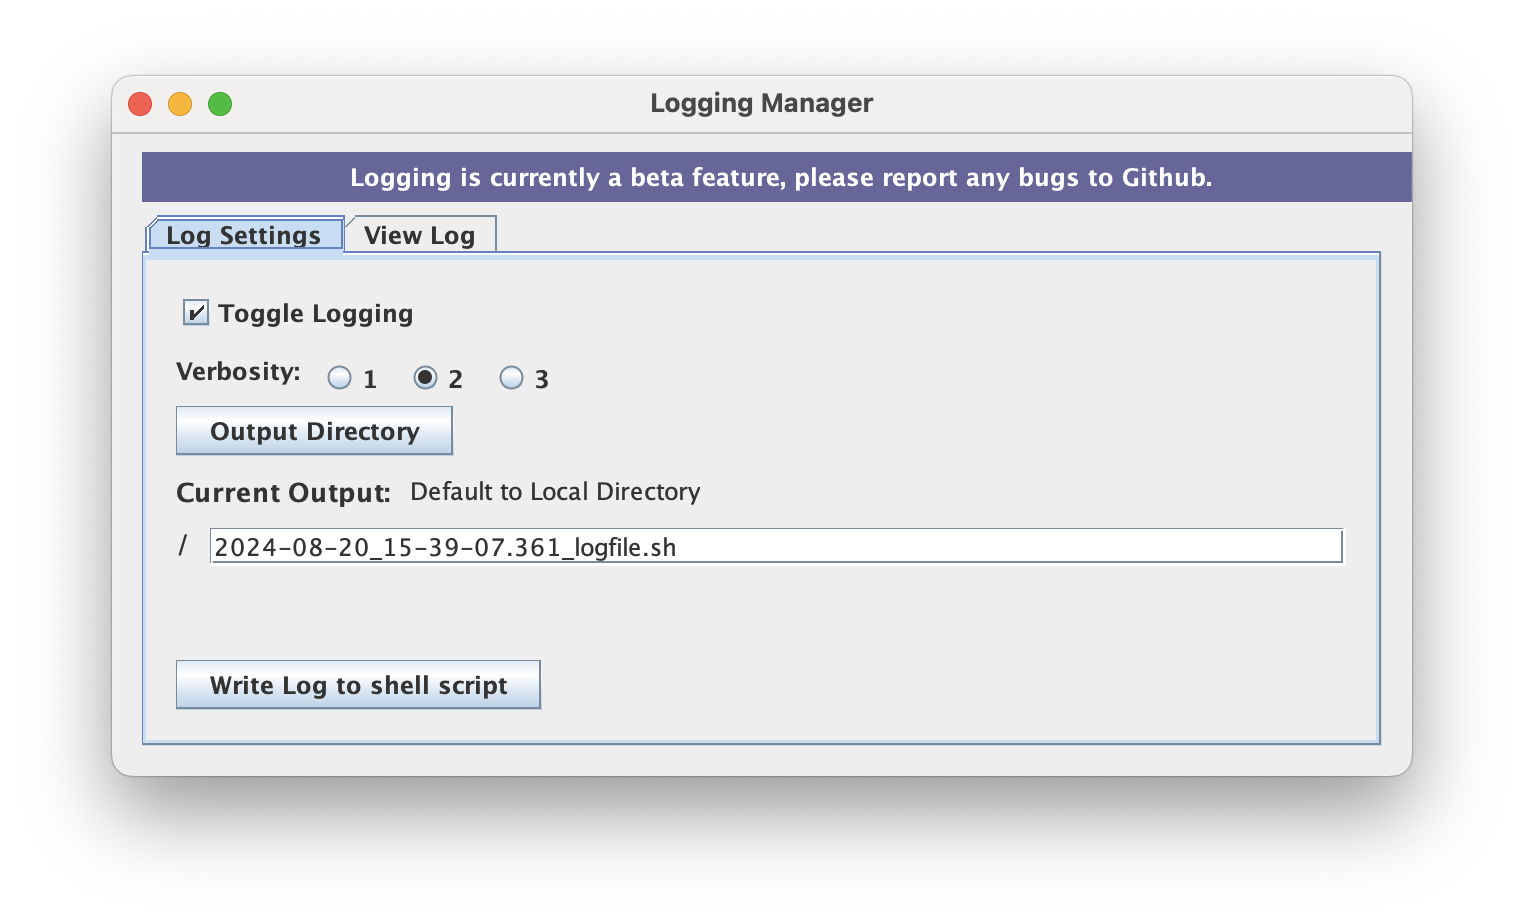
Toggle Logging
This checkbox allows the user to turn the logging feature on and off.
Verbosity
Determines the level of information to report from the log. All verbosity levels report the executed commands.
- Level 1 - No comments, just the command is provided
- Level 2 (default) - Comments include start/stop timestamp and exit status for each execution
- Level 3 - Comments include start/stop timestamps, exit status, and calculated runtime for each execution
Write Log to shell script
Clicking this will write a shell script of the logfile into a provided 'Output Directory' with the displayed filename.
You may choose to modify the filename to something more descriptive. By default, the filename is derived from the timestamp of the start of your ScriptManager session. (e.g. 2024-008-20_15-39-07.361_logfile.sh)
When you've written the log to a shell file, you can regenerate your analysis by executing the shell script through the terminal.
Try it yourself!
After saving your logfile to a shell script, update your logfile shell script with the path to your ScriptManager and Picard JAR executables (should be in the first few lines):
SCRIPTMANAGER=/path/to/ScriptManager.jar
PICARD=/path/to/picard.jar
Then delete all the output files from your ScriptManager session and execute the log shell script by opening terminal and typing:
sh /path/to/2024-008-20_15-39-07.361_logfile.sh
And all the analysis you ran in the GUI should be exactly replicated from this CLI execution!
View Log
The View Log tab enables the user to access information on the building of their analysis. This helps the user keep track of the status, command line, and the run-time of their analysis.
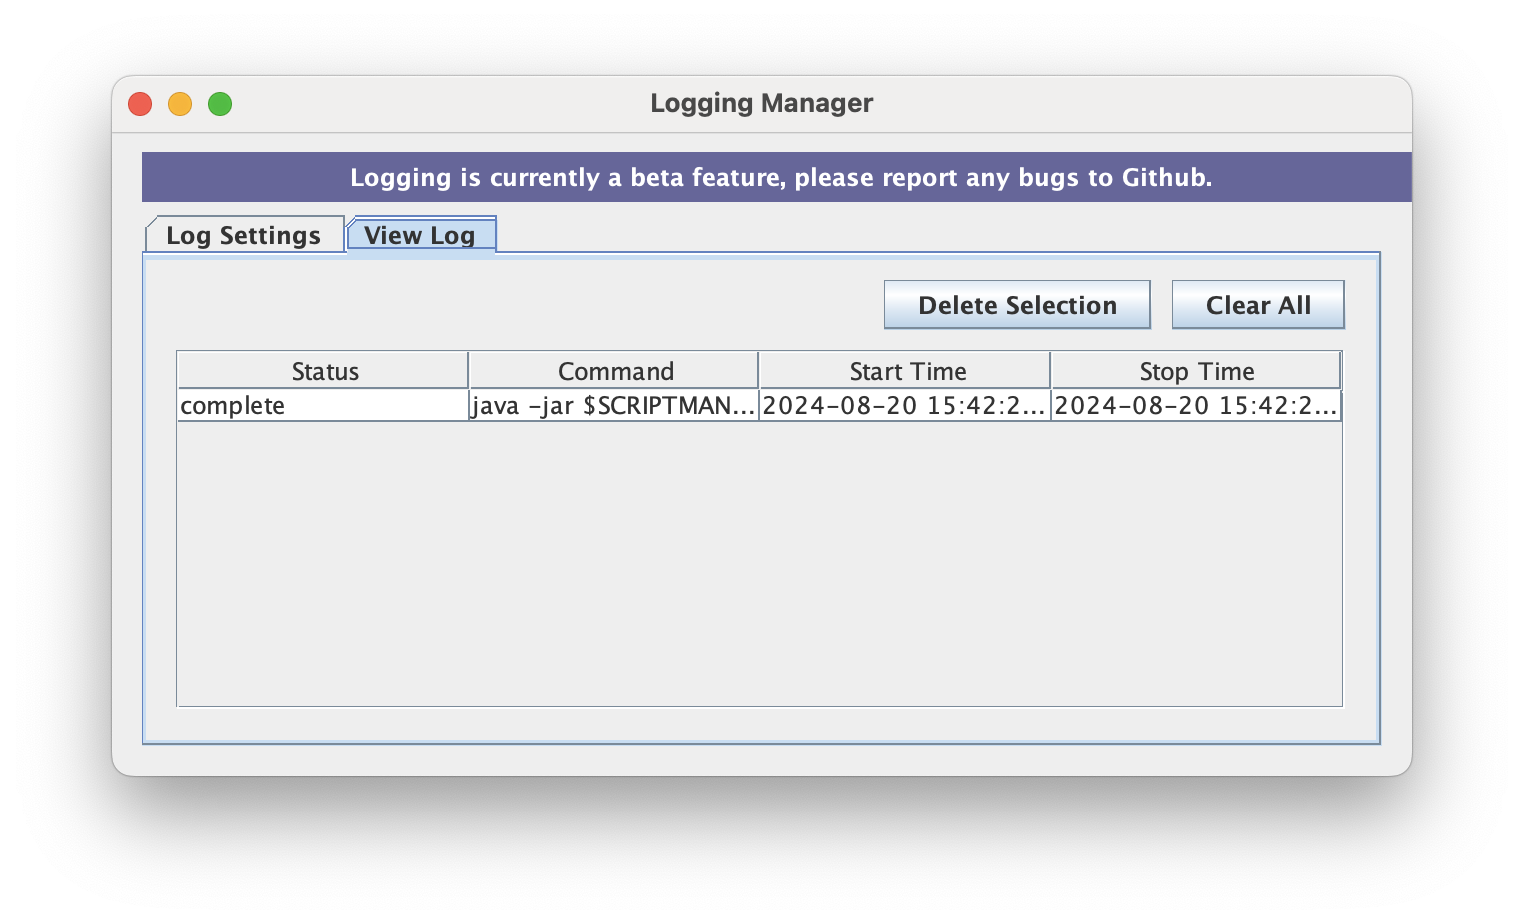
- Delete Selection allows the user to delete certain analyses from the log.
- This is useful for pruning unused analyses performed during a GUI session before writing the analysis to a shell script.
- Note that you can use
CtrlandShiftto highlight multiple rows at once
- Clear All allows the user to delete the entire log
- Log Table displays the information captured in the log.
| Field | Description |
|---|---|
| Status | indicates whether the tool has started, finished, errored out of execution |
| Command | stores the CLI command equivalent kicked off in the graphical interface to exactly replicate the graphical interface activity. |
| Start Time | specifies when the analysis began. |
| Stop Time | specifies when the analysis finished/stopped. |